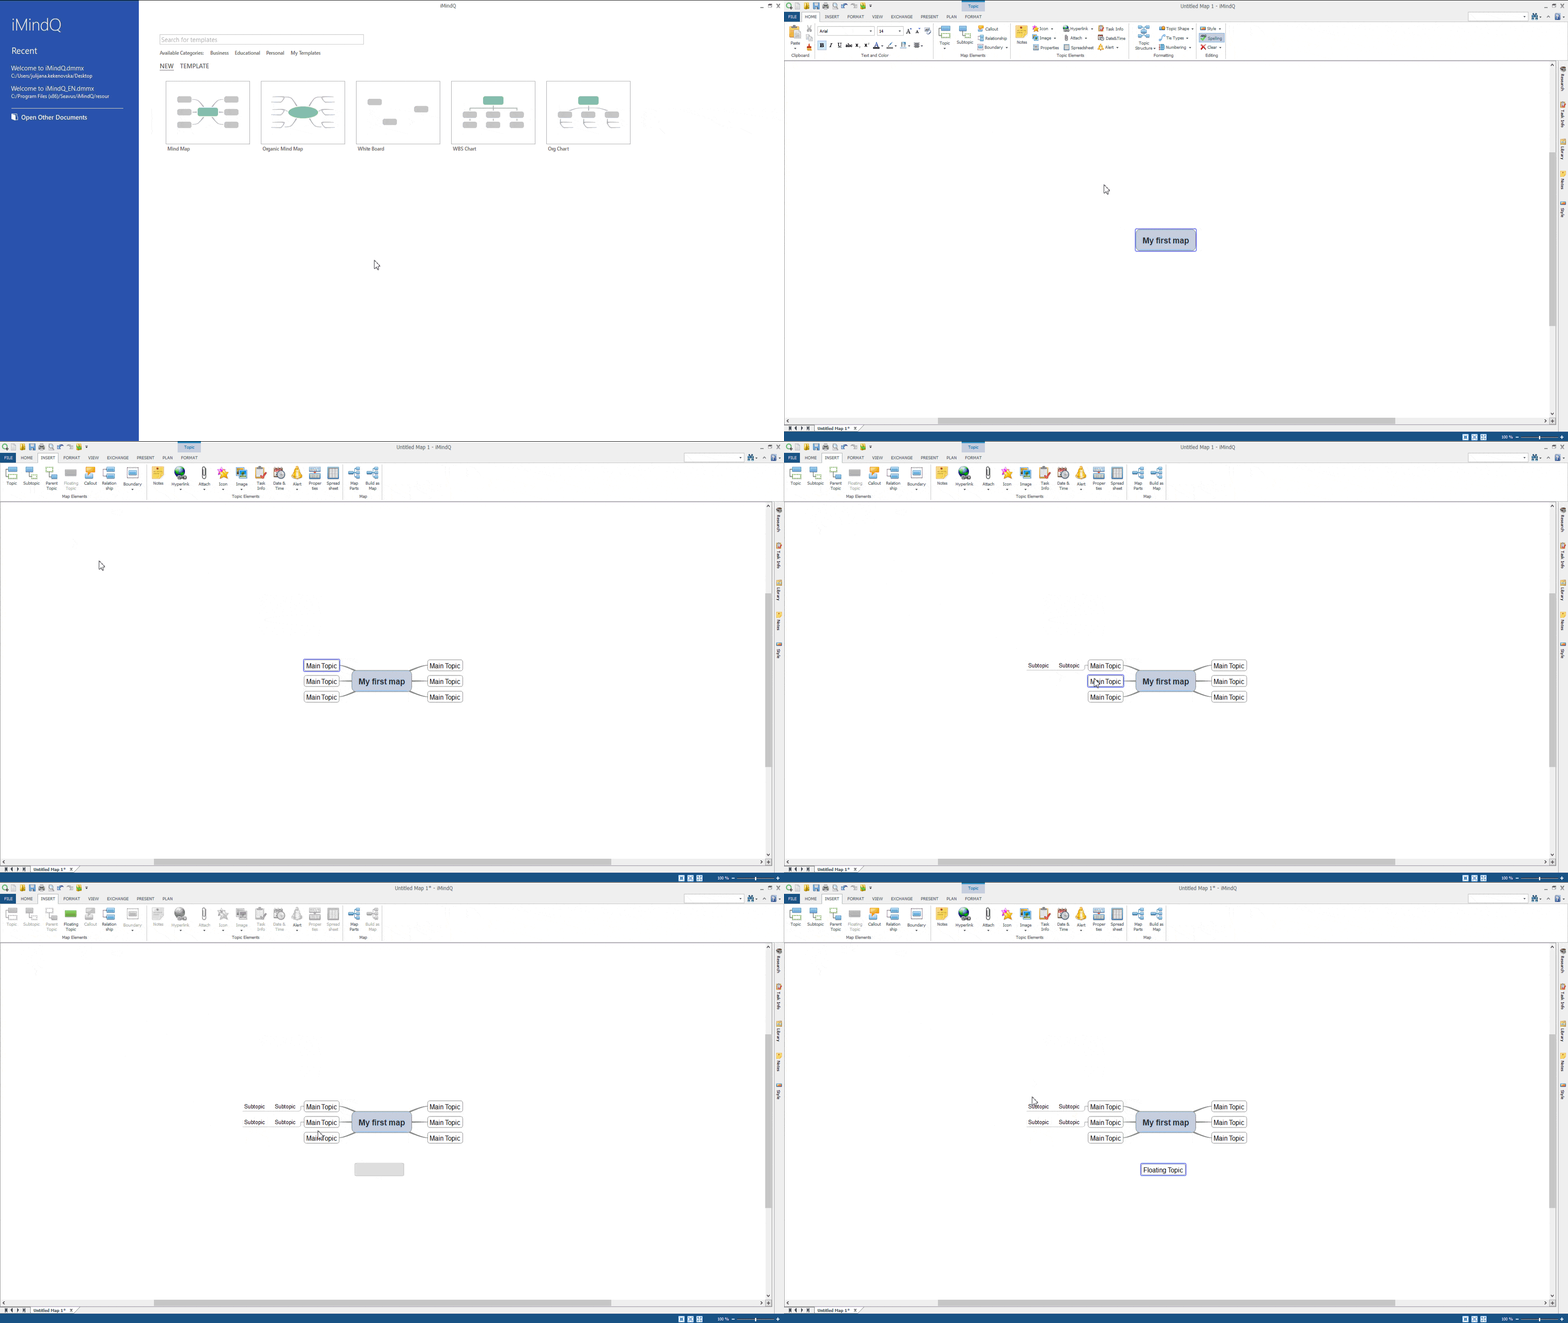
HOW TO MAKE A MIND MAP IN
8 STEPS
However, there are many who are not familiar with the term and the technique ‘mind mapping’, so this extensive and thorough mind mapping starter kit is created for them, but, in addition, also for those who have heard of the technique but haven’t tried it yet.
The guide compasses everything, starting from details about the history of the mind mapping technique to help you understand, learn and explore the technique more in-depth. Additionally, it will also lead you step-by-step through the process of creating a powerful mind map.
Let’s get into it, starting from the very beginning.
What is mind mapping and how was it born?
A mind map is a diagram with a hierarchical structure that is used for visually organizing and presenting information, thoughts or ideas.
Even though historically, diagrams similar to mind maps show traces centuries back, the term ‘mind mapping’ for the first time was introduced and popularized by the world-renewed English author and educational consultant Tony Buzan. Mind mapping emerged as an inspiration related to the creative techniques that the geniuses Leonardo da Vinci and Albert Einstein used in the past and to the “concept mapping” technique which Joseph D. Novak introduced in the 1970s. In fact, Tony Buzan looked at how these people, for example, Leonardo da Vinci, tended to use images and some form of connections and associations in his personal practice of note-taking.
This is the period when Tony Buzan broadcasted his ten-episode BBC series titled “Use your head” and established himself as the most influential figure in the field of the mind’s creativity and effective learning and memorizing techniques. The BBC Series which gave a formal introduction of the concept of mind mapping gained global praise and after a while, resulted in series of books including ‘Use Your Memory’, ‘Master Your Memory’, ‘Use Your Head’, ‘The Speed Reading Book’, and ‘The Mind Map Book’.
In one episode of the series, Buzan talks particularly about the origins of the mind mapping technique and about the way he come up with the idea of mind maps in the period when he was studying neurophysiology and brain cells.
“I was studying different subjects and different geniuses, such as neurophysiology and found out that the brain cell looked like a mind map and worked on the same principle as mind maps – with linking and associations and transferring and storing images so neuro-physiology tended to confirm that if the brain cell and its friends – the other brain cells, would want to note it would be in mind map form”, says Buzan in the video.
What is a mind map?
A mind map is considered to be a versatile and easy-to-use tool that can find immense use for a wide range of activities that involve different cognitive functions, such as creative-thinking, memorizing or learning.
How to create an effective and powerful mind map with iMindQ?
As we previously dived into the theory of mind mapping and explained about the origins of the technique and defined what exactly is a mind map and why is it used, now we will go into the more practical part – the creation of a mind map with a mind mapping software.
Creating a mind map with iMindQ has numerous advantages. It is a mind mapping tool designed with the idea to simplify the process of generating and visually organizing and presenting ideas, thoughts and information. There are a few steps to how to create an effective mind map that will simplify the process of learning or working.
1. Determine your central topic
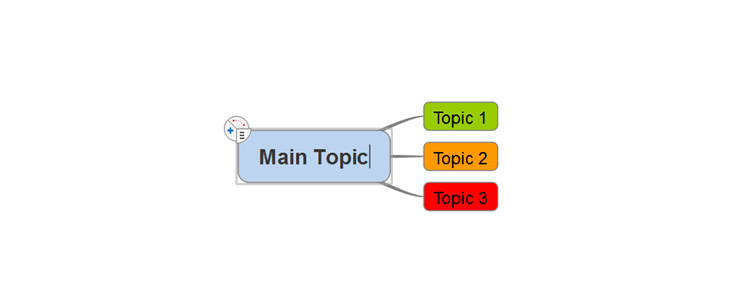
The most important step in creating a powerful mind map is to have a relevant central topic. A mind map is utilized to explore and further elaborate a certain main topic placed in the core of the mind map that later will be mapped out in a number of topics and subtopics. Mind maps resemble trees with many branches and sub-branches so imagine that your central idea is the core of the tree that holds together all the branches and sub-branches.

2. Branch out your map

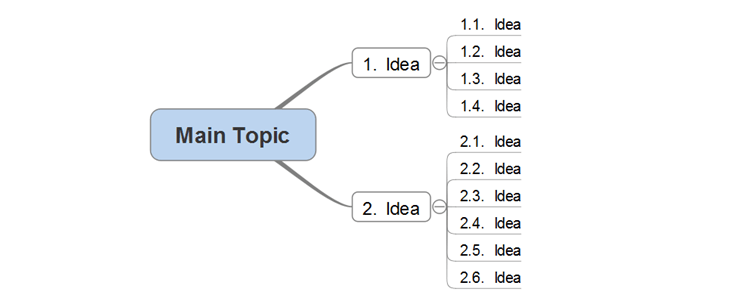
3. Expand the branches with sub-branches

If the branches are usually described with one or two keywords, the sub-branches can contain a diverse number of words, depending on what they explain. The description can vary from one word to more complex sentences, as long as you use the specific keywords related to your main idea.
Check the ‘Travel Plan Mind Map’ created with iMindQ, to get a better understanding of how we have developed the mind map’s branches and sub-branches. Have in mind that this particular mind map can be furthermore expanded, and this is doesn’t have to be the end. Depending on your preferences, when it comes to traveling, for example, you can add more branches or exclude some of the existing.
4. Elaborate and grow the sub-branches
The sub-branches are what makes a mind map complete in terms of content. In other words, if you leave your topics general and unelaborated, your mind map won’t be as much powerful as it should. You have to always focus on expanding the mind map and its topics until you are sure that there is nothing left to add to a certain branch.
Radiate out the map with ideas and associations of all the information you know and every idea you have on your mind that correlates with the main subject. Once you are finished adding branches and sub-branches, you can go onto the more creative steps – decorating the map with different colors and images which will make it bold and eye-catching.
5. Choose a font and start coloring the mind map
A mind map becomes a powerful tool once you give its content a suitable font and you embellish the topics and sub-topics with different striking colors. If you use iMindQ, you will be able to add as many colors and shades as you like to your mind map in order to make it unique and personal. The software is versatile enough to allow you to color-customize each branch and sub-branch of your mind map according to your personal preferences.
The role of the colors is not only to make your map more attractive. It has been found that colors have a beneficial impact on people’s memorizing skills. To be more precise, several studies have shown that people have a greater ability to memorize and recall a certain color than a word. Therefore, using diverse colors when creating a mind map is always a good idea as it will help you to memorize information more easily as you will connect that information with a color.
If you can’t decide which colors and fonts to use, reflect on the message you want to communicate or if there are some particular parts of the content that is crucial to be memorized. After this, you can choose colors you find the most powerful in order to highlight the content. You can also bold or underline the text so the map is more memorable.
6. Add visuals to the topics and subtopics
So if you are working on a map that should help you remember something particular, don’t skip this step. It is especially important if you are studying for an exam or preparing a presentation with a mind map. Include images and symbols next to the content and you will be surprised how well you will remember them, the place where you put them and then the information that you associated with them.
If you are using iMindQ, you can visit the library of images and icons to choose from or you can upload an image you find more appropriate for your mind map.
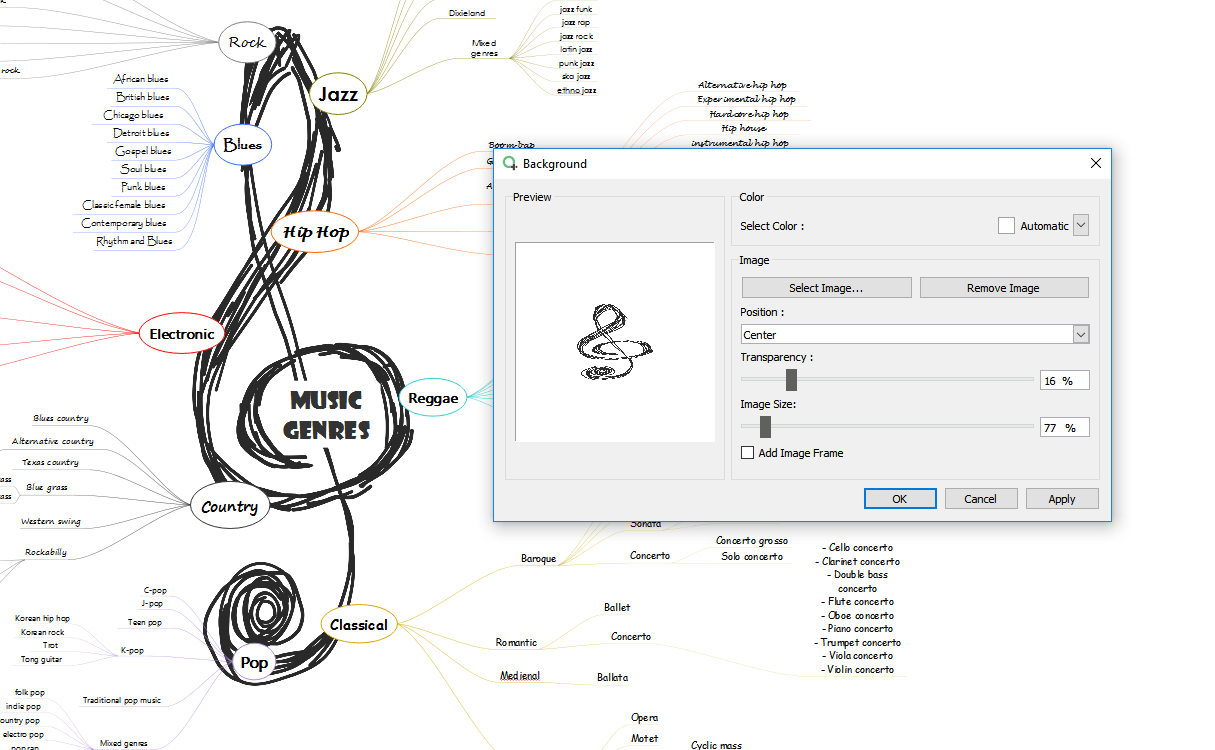
7. Add a background image to the mind map
After finishing all previous steps and creating a mind map with branches and sub-branches and decorating them with different colors, images, and symbols, it is time to add a background image or pattern that will accentuate the content and make the mind map a statement piece.
When choosing an image as a background, you should always look for a style that will correspond to the main idea or topic of your map. As an example, you can check the mind maps ‘Chernobyl Disaster Key Facts’ or ‘Music Genres’ created with iMindQ which are powerful maps with a thematic background image. Inserting background pictures make mind maps more engaging and appealing to the eye, which is the reason why this step is important and shouldn’t be overlooked.

8. Share or present your mind map
We have come to the last piece of the puzzle – sharing and presenting your mind map. Whether you create a mind map for yourself or to present it to your friends or colleagues, you should strive to make it as appealing as possible. The more effort you put into creating a mind map that is worth to be presented the more you will benefit from it.
The mind mapping technique is a creative and engaging alternative for the PowerPoint presentations because it enables you to visually present ideas and information in a different format which always sparkles the audience’s interest.
Tree-like presentations tend to to trigger our mind for creative outside-the-box thinking and idea generation. So, if you are using iMindQ for mind map creation, the presentation mode is the functionality that will allow you to present your pre-designed mind map uniquely and easily.
Conclusion
In conclusion, the advantages of implementing the mind mapping technique in your everyday routine are enormous. Everyone could become a mind map user or, for that matter, a mind map master. All you need is an appropriate mind mapping software to get started. iMindQ is an example of a software that offers a wide range of features for its users to get the most of this creative technique.
Starting from brainstorming and note-taking to project or event planning, studying and public speaking or presenting, the mind maps created with iMindQ can help you stimulate both the creative and logical way of thinking and encourage you to let your ideas and thoughts flow freely.
Finally, if you are using it the right way, mind mapping will surely stimulate your creative thinking and allow you to solve problems more effectively. You just need to follow all the previous steps we included in this guide and you will be closer to becoming the master of mind mapping.
