|
|
|
|
Previous |
Next |
MANAGE SHAREPOINT 365 ACCOUNTS
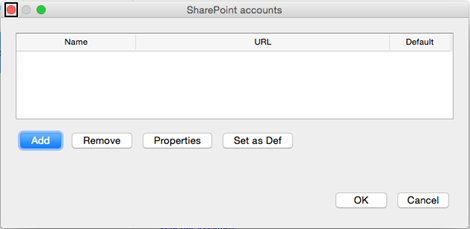
In order to establish a connection to SharePoint 365, you need to have at least one SharePoint 365 account added. In order to do this, perform the following steps: 1. Click on the File Menu. 2. Click on the Open Menu button. 3. Go to the SharePoint sub-menu and click on the Manage accounts option. (SharePoint accounts dialog should open).
4. Click
on the Add
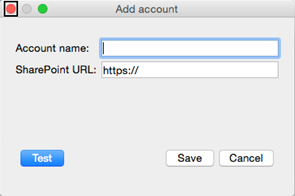
5. Insert all the required information in the Add account dialog account name and SharePoint URL. 6. Test
the connection to the SharePoint site, by clicking on the Test
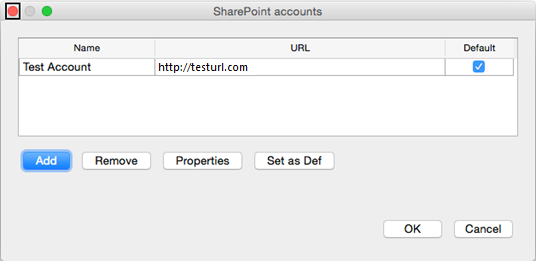
7. Save the account. After adding the SharePoint 365 account and testing the connection, in the SharePoint Accounts dialog the following account information will be displayed, like in the image below.
You can
add multiple SharePoint 365 accounts, from which you can set one
as your default account, either by clicking on Set
As Def You can remove an account from the list, by doing the following steps: 1. Select the desired account from the SharePoint Accounts dialog. 2. Click on the Remove button. If you need to edit the information of an existing account, select the specific account from the list and click on the Properties button. To test the new, edited account information, follow the steps from 5 to 7.
|


